In the corner of the Doll Room, Mio obtains the 'Deformed Twins Photo', 'Butterfly Diary 1', and a finely carved 'Hina Doll Head'.
Mayu stands nearby in a trance, gazing hollowly into space, murmuring fragments:
'I can hear voices... The two chosen maidens will ascend into the sky and become butterflies... Butterflies to save the village... The two maidens... sky...'
Exploring the room, Mio finds 'Photo: Doll Stand' beside a small table. Looking at the ornate yet unsettling tiered stand, she murmurs: 'There are two headless dolls... Are they twin dolls? One doll has a red neck. This head must belong to that red doll.'
Mio places the 'Hina Doll Head' back onto the neck of the red-necked doll and arranges the dolls according to the 'Photo: Doll Stand'. The mechanism does not activate. Looking at the other doll still missing its head, Mio aims the Camera Obscura at the empty spot and uses 'Reveal'.
As the shutter clicks, spiritual light flashes and the hidden compartment in the stand pops open, revealing the 'Twin-Rhombus Key'.
Picking up the key, hope rises in Mio: 'With this key, we can open the door to the back exit...'
Behind her, Mayu nervously tugs Mio's sleeve: 'Mio... let's get out of here...'
Stepping out of the Doll Room, a wooden box rattles violently, and a hostile spirit ('Hostile: Woman in the Box') screeches and lunges! Mio banishes her, then returns to the Guest Room to pick up 'Folklorist's Note 15' and a detailed 'Kurosawa House Map' near the table and wall.
Turning the corner in the Guest Room Hallway, the grim silhouette of the family head appears ('Vanishing: Talking Man'). His voice echoes: 'Why do you flee?'
Mayu clutches her head in pain, backing away: 'No... it wasn't us...'
Going down the stairs, Mio aims upward and captures the family head gazing coldly down ('Vanishing: Calling Man'), his cruel voice declaring: 'You were born for this...'
Crossing the Great Hall, Mayu suddenly quickens her pace. Mio hesitates a second, then rushes after her. Mayu stands in the center of the hall—the exact spot where the bloodstained woman in white and the corpses were found earlier.
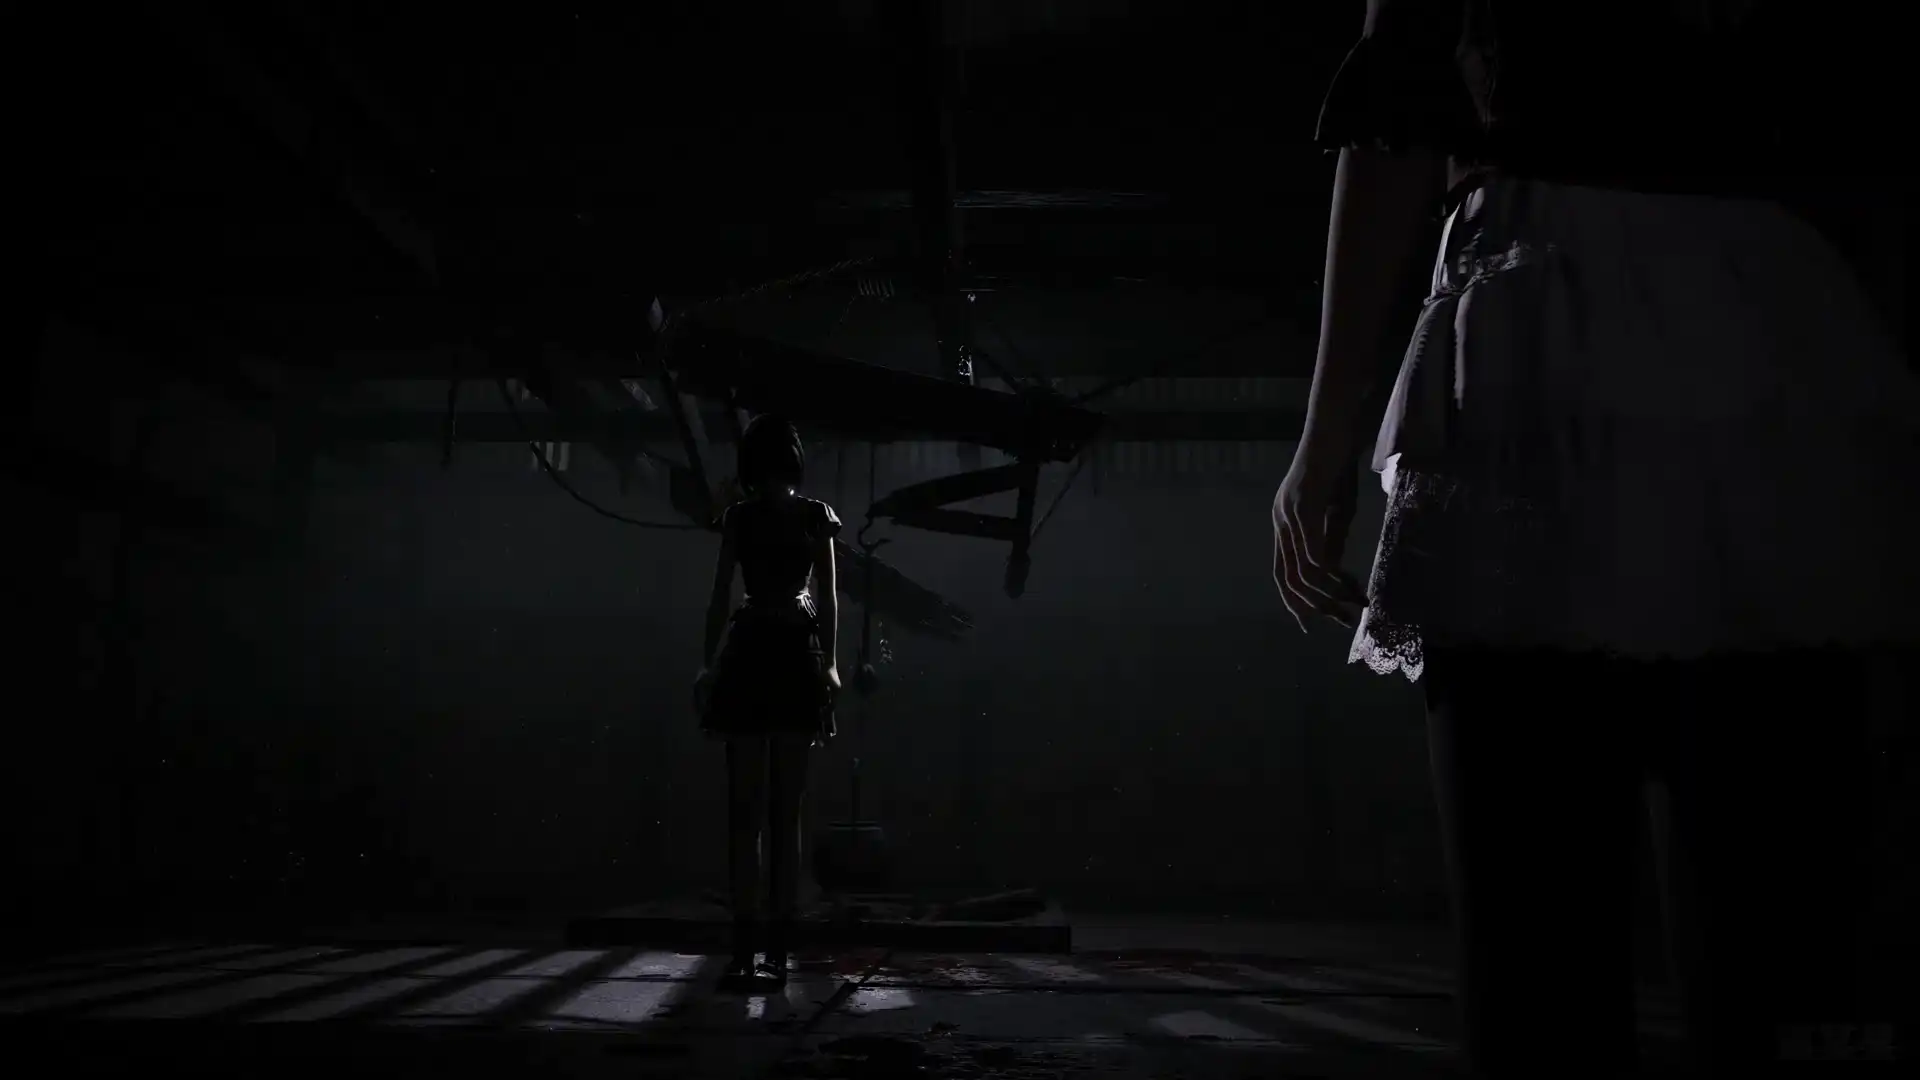 Mayu standing in the Great Hall
Mio steps forward cautiously: 'Mayu... what's wrong?'
Mayu keeps her head down, her tone icy: 'Nothing... Mio... we have to... escape quickly.'
'Mayu...'
Mayu snaps her head up in terror: 'I don't want to kill anyone anymore...!'
Mio's heart sinks. Gripping Mayu's cold hand, she leads her in a sprint through the hall. Spirits ambush them from both sides, but Mio runs straight to the Entrance. The front door remains sealed. Mio turns around and captures a man standing in the dark ('Vanishing: Man in Back').
Unable to exit through the front, Mio unlocks the right door with the 'Twin-Rhombus Key' and enters the Storeroom. Aiming up the stairs, she captures a man's back ('Vanishing: Man Going Upstairs'). Ascending to the screen room on the second floor, she turns left and photographs a boy peeking ('Vanishing: Boy at the Opening'), finding 'Ceremony Master's Note 3' under the screen opposite the stairs.
Returning to the first floor, Mio opens the door to the Cloth Hallway and catches a glimpse of a boy ('Vanishing: Peeking Boy'). Walking along the white drapes toward a door with a bloodstained handprint, she captures the fleeing boy ('Vanishing: Running Boy').
Two spirits attack in the hallway, and Mio repels them. Just as she reaches for the door at the end, the black-and-white silence falls—the Kusabi is right behind the door! Mio gasps, pulling Mayu back into the Kitchen corner. After the heavy footsteps fade, they enter the Storehouse.
Entering the storehouse, Mio captures a man searching around ('Vanishing: Man in Storehouse') and picks up 'Ceremony Master's Note 4' near the wooden shelf where he stood.
Approaching the Prison Cell in the back, Mio finds the door locked with two ancient locks marked 'Yin' and 'Yang'. The lock pattern matches a mechanism in the Master's Room.
Aiming through the iron bars, Mio captures the imprisoned man ('Vanishing: Imprisoned Man'). Seijiro Makabe's voice echoes: 'Why am I locked here... A ritual sacrificing an outsider... could it be...'
Outside the cell, Mio finds the 'Memo: Flash Lens'.
Equipping the Flash Lens, Mio aims at the sealed cabinet in the storehouse and takes a photo, dispelling the blood seal and retrieving 'Butterfly Diary 2'.
Guiding Mayu toward the back exit, they reach an old well.
Mayu stops, staring faintly: 'Yae... are you really going to run away...?'
Mio grips Mayu's hand tighter and rushes to the back door. The door is locked tight with an 'Eight-Hammers' crest lock.
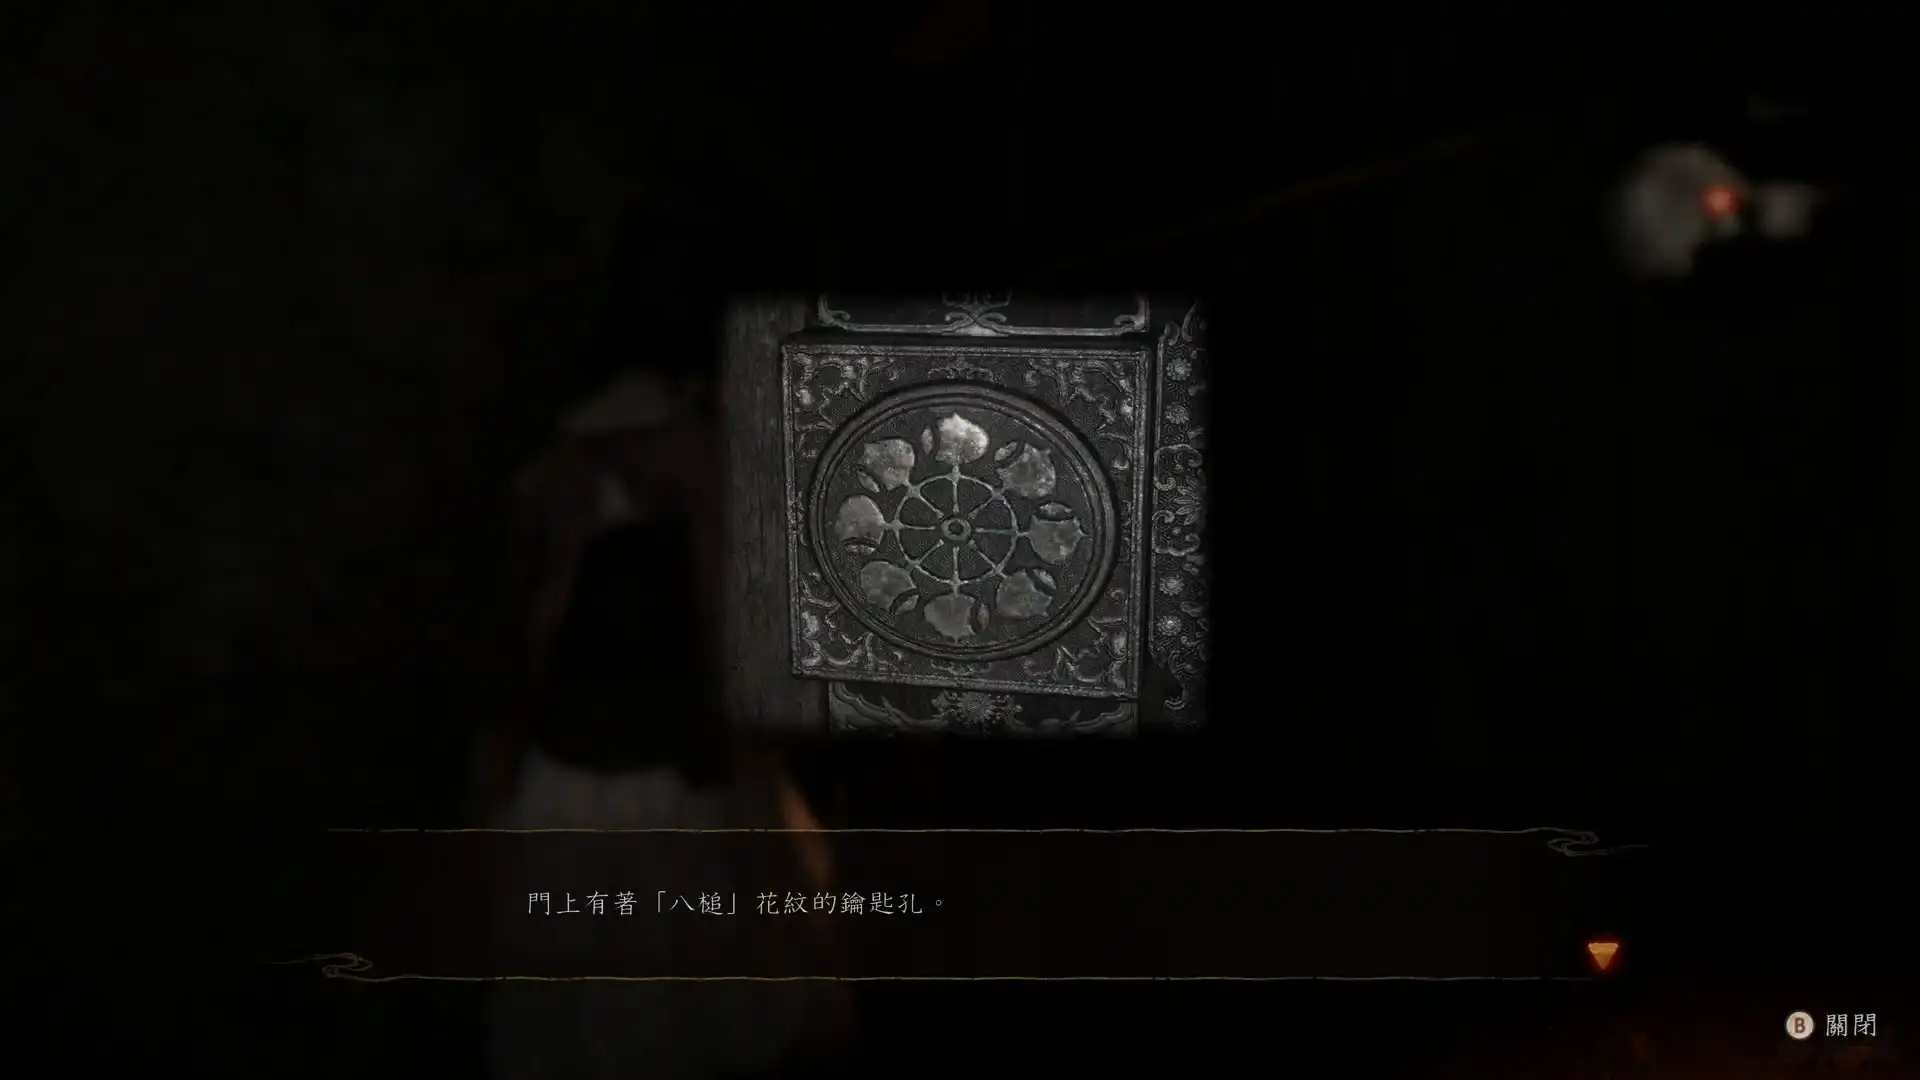 Eight-Hammers crest keyhole
Mio looks at the lock: 'If we open this, maybe we can escape...'
Returning through the Cloth Hallway, they capture a man preparing the ritual ('Vanishing: Ritual Man'). In the Great Hall, Mio uses the Flash Lens on the north door to clear the blood seal. Inside the Storage Room, she captures an exhausted man ('Bound: Exhausted Man') and picks up the 'Bloodstained Note' and 'Bloodstained Ring'. A spirit ('Hostile: Cut-up Man') attacks as she exits, and Mio banishes him.
At the Altar Room door, Mio dispels the blood seal with the Flash Lens. Inside, a solemn priest phantom appears ('Vanishing: Priest Waiting for Twins'). His voice booms: 'The twins to serve as the sacrifice have returned.'
Mayu shivers: 'The fate... of the sacrifice...?'
Beside his cushion, Mio picks up 'Ritual Book: Red Wings'.
On the left side of the room is a low crawlspace. Mio crawls through, but the door slams shut behind her! Inside, she finds 'Butterfly Diary 3'. Through the wooden bars, she sees Mayu walking toward the opposite door like a puppet.
Mayu mutters hollowly: 'Someone is calling me... I have to go...'
'Wait, Mayu!' Mio bangs on the bars, then captures Mayu leaving ('Vanishing: Mayu Heading Down').
Mio rushes down the stairs, hearing Mayu's faint guidance: 'I'm... on the right...'
Climbing the stone steps at the other end, Mio sprints along the corridor, capturing Mayu ahead ('Vanishing: Mayu on Connecting Hallway').
Arriving at the Twin Doors, Mio waits for Mayu to reach the opposite side. Mayu's voice echoes through the wood: 'We'll be together forever... That was our promise, right...'
The Twin Doors open, and the sisters reunite, entering the Rope Altar Room. Mayu stops, pale: 'No... we can't go further.'
On the central altar, Mio obtains the 'Yin Key' and finds 'Ceremony Master's Note 5' on a side table.
'We still need to find the other key...'
Mayu leans weakly against the door, crying: 'Everyone is dead... We really can't escape... Itsuki... I'm sorry...'
Taking Mayu's hand to return, the suffocating presence returns—the Kusabi is blocking the hallway! Mio pulls Mayu down the other path back to the Altar Room, picking up 'Spirit Stone: Red Glowing Ore' on an incense table.
Upstairs, Mio finds 'Ritual Book: Calamity'. Mayu notices that stepping on a floor switch keeps the opposite door open. Mayu firmly offers to stay on the switch so Mio can search ahead.
Mio crosses to the other side, finding the passage connects to the Master's Room. She picks up 'Ceremony Master's Note 1'. Heading up the left stairs, she aims at the ceiling beam to photograph 'Twin Doll 9'.
Crawling through the meditation corridor, she gets 'Ritual Book: Twins'. Looking left, she captures whispering phantoms ('Vanishing: Whispering Men', 'Whispering Priest', 'Two Whispering').
The priest mutters: 'The Mourners are restless. We must craft the Kusabi quickly.'
The family head responds: 'Lock up the investigator... I will hold the keys... No one must escape...'
Crawling out, Mio sees Mayu attacked by a priest spirit! Mio uses telephoto focus to shoot from afar, saving Mayu before rushing down to defeat the priest.
Together, they reach the second floor of the Storeroom, use the Flash Lens on the blood seal, and enter the Master's Room. On the shelf, Mio finds 'Ceremony Master's Note 2' and 'Ritual Book: Sacrifice' on the floor. In the center stands a Buddha statue gripping a Yang-patterned key.
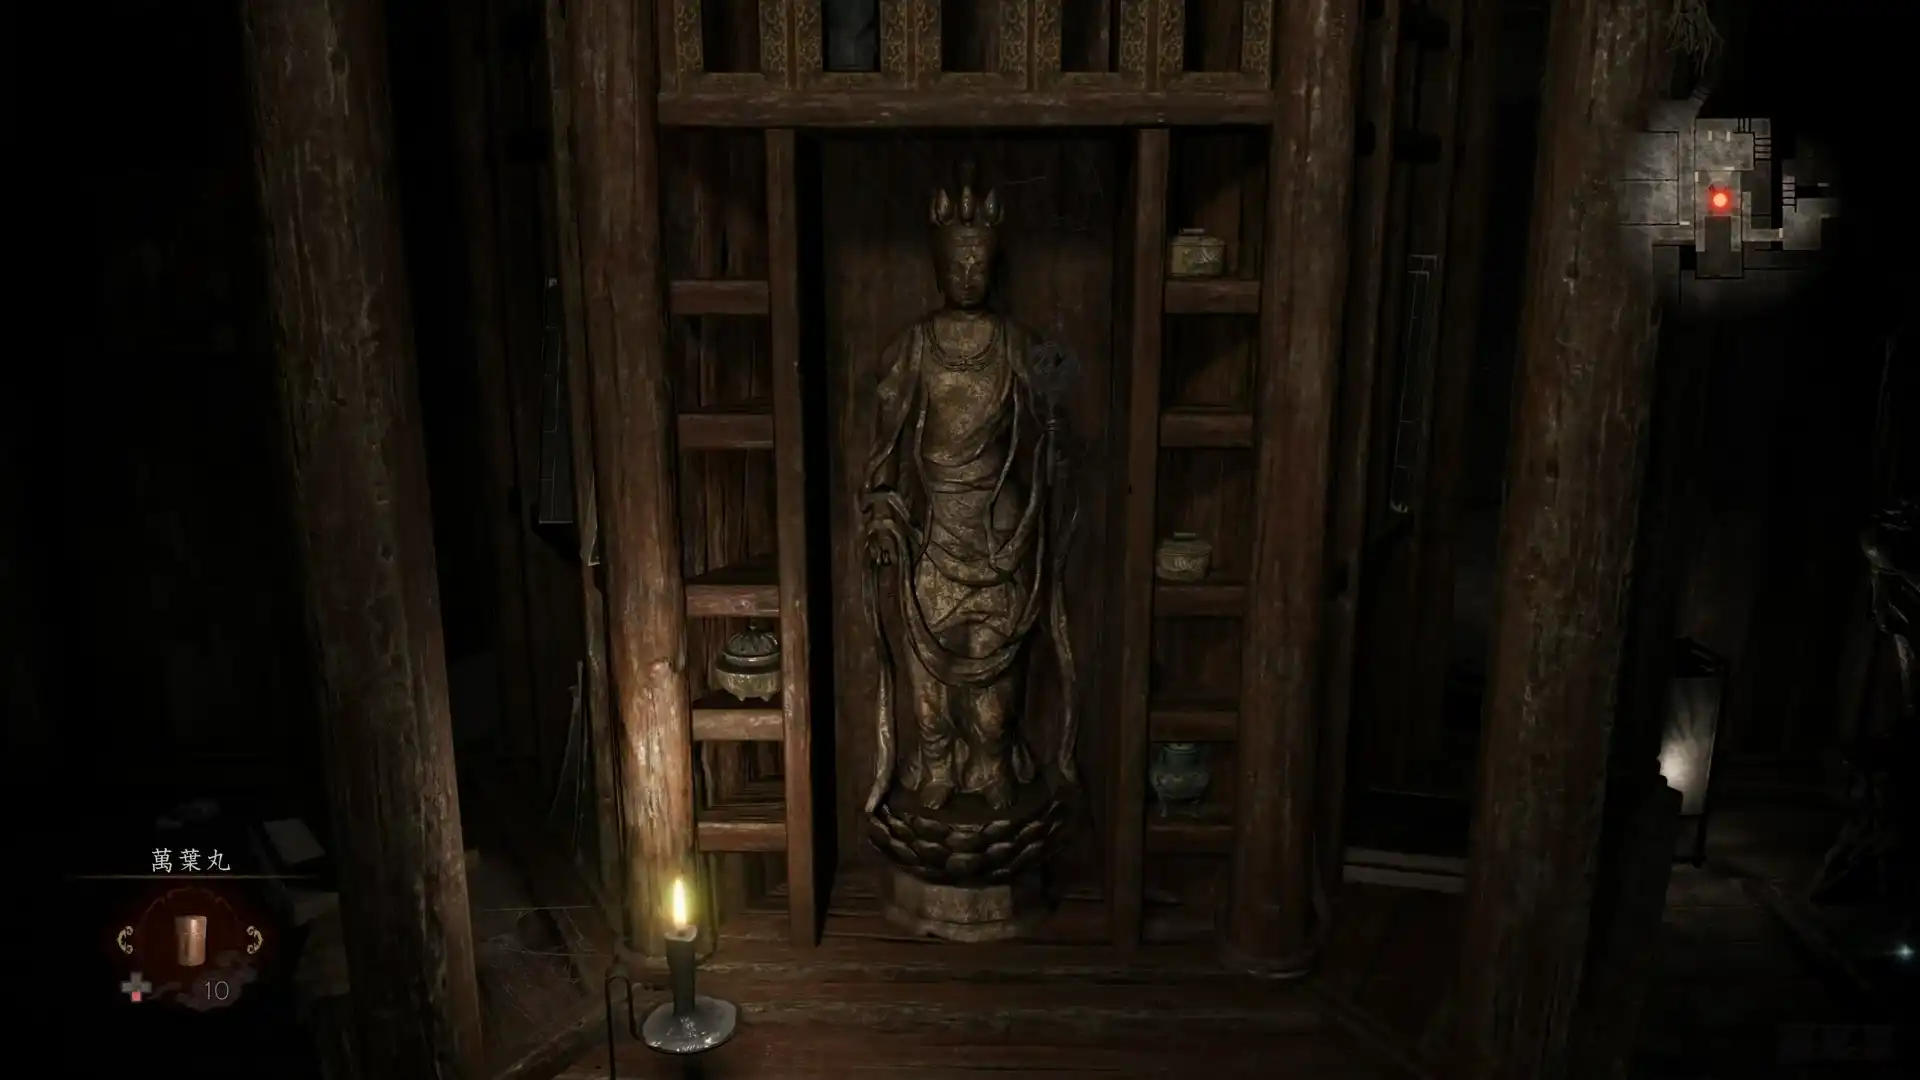 Buddha statue holding the Yang Key
'Seal with the crimson butterfly sacrifice; a sacrifice-less rite demands the Kusabi's atonement.'Mio arranges the books in order: 'Red Wings', 'Twins', 'Taboo', 'Sacrifice', 'Calamity'. The mechanism unlocks, releasing the 'Yang Key'.
'Now we can open the prison cell...'
They race back to the Prison Cell in the storehouse. Inserting both 'Yin Key' and 'Yang Key', the heavy iron door swings open.
Inside, Mio finds the 'Eight-Hammers Key', 'Osaka House Map', and 'Photo: Altar Room' on the central table.
Mayu looks around with sad nostalgia: 'This place feels familiar... comforting... Mio... I remember now. The key to this cell... is in the Osaka House... If only we hadn't run away...'
Inside the cell, Mio captures the folklorist's phantom ('Vanishing: Man Investigating Ritual') and finds 'Folklorist's Notes 17, 18, and 19' on the bookshelf.
Taking all the items, Mio grasps Mayu's hand: 'Come on, let's leave quickly.'
The instant Mio steps outside the cell, the heavy iron door slams shut with a loud clang, locking Mayu inside!
Mio rattles the bars in panic: 'Mayu!' The door won't budge.
Mayu panics: 'What do we do...?'
Mio tries to stay calm: 'The key must be somewhere... I'll find it, wait for me here!'
Mayu grips Mio's hands through the bars in tears: 'Don't go! Stay... here...'
'I'll be right back...'
Mayu breaks down: 'We just promised! Don't leave me... don't leave me again...!'
Mio holds Mayu's trembling hands.
'Don't... let go of my hand...'
Childhood memories flood Mio's mind—the sunlit gorge, the running, the slipping fingers, and Mayu tumbling down the cliff...
'Don't go!'
'Don't go!'
Tears blurring her vision, Mio pulls her fingers away: '...I'm sorry... I have to go.'
Mayu screams in despair: 'Don't... leave me...! Don't leave me alone...!'
Turning away with tears, Mio chokes: 'I'll be right back... I really will... Wait for me, just a little while...'
Mio takes heavy steps forward. From the darkness behind her, Mayu's voice turns bone-chillingly cold:
'Sister... are you leaving me behind again...?'
Shocked, Mio turns around, but Mayu only hangs her head in the deep shadows, silent.
Wiping her tears, Mio rushes toward the back door...