Deprived of the Camera Obscura, Mio hurries through the dim passage of the Earthen Bridge and enters the storehouse of the Tachibana House.
The moment she opens the storehouse doors, chilling, hysterical laughter echoes from the right—Sae Kurosawa is searching the area, exuding freezing malice!
Sae spots Mio instantly. In sheer panic, Mio turns and bolts to the left.
The door to the first room is locked tight, and footsteps and icy whispers dog her heels:
'I was... waiting for you all this time...'
Her heart pounding, Mio desperately seeks a hiding place.
Spotting a thick cloth curtain ahead on the left, she slips behind it without hesitation, holding her breath and clamping her hands over her mouth.
Sae lingers outside for what feels like an eternity. Finding nothing, she forces open the locked door with a mechanical click and drifts away.
Ensuring the coast is clear, Mio emerges from the curtain, crosses the staircase hallway, and heads upstairs.
After a few steps, a familiar silhouette appears ahead with her back turned.
Mio calls out in relief: 'Mayu...!'
However, as Mio reaches out, the figure snaps around—her face contorting into Sae's laughing visage!
Terrified out of her wits, Mio flees into the adjacent tatami room and dives deep into the closet.
Peeking through the closet slats, Mio watches Sae while trying to figure out how to return to the Kiryu House to retrieve the Camera Obscura.
She notices freezing white frost swirling around Sae. Whenever the mist and footsteps fade, there is a brief window of safety to search the nearby rooms.
Taking advantage of Sae's absence in the hallway, Mio slips into the storeroom and retrieves the 'Butterfly Key' from a corner table.
She quickly uses the key to open the northern door of the room, entering the Western Row Tatami Room.
Two steps in, Sae's icy laughter echoes from the hallway behind her once more.
Trapped, Mio rushes into an empty room ahead. With no closets or screens to hide behind, she presses her back against the cold corner, closing her eyes and praying Sae won't enter.
Outside, Sae murmurs hollowly:
'Not here...'
The freezing mist recedes. Mio cautiously exits toward the door leading to the Heavenly Bridge.
Beside the doorframe sits a doll mechanism. The stand should hold a pair, but only one doll stands alone.
Mio recalls the mechanism at the Earthen Bridge—the two twin dolls must face each other to unlock the door. She must find the missing doll.
Evading Sae's patrol route, Mio explores the Eastern Row Tatami Room. Inside its storeroom, she finds the 'Crimson-Stained Doll'.
Mio rushes back to the Western Row Tatami Room, places the doll on the pedestal, and turns them to face each other. With a crisp click, the Heavenly Bridge doors swing open!
Mio sprints across the Heavenly Bridge into the Kiryu House, charging down to the ground floor past hostile spirits and diving straight into the Doll Room.
Descending the stairs, her weapon lies quietly on the cold floor—the 'Camera Obscura'.
Holding the camera again, courage returns to Mio's heart.
She immediately aims and captures a crushed spirit straight ahead ('Bound: Crushed Man').
Climbing the opposite stairs and crossing the Flickering Hallway to the second floor, Mio turns right and captures Mayu's wandering shadow ('Vanishing: Wandering Mayu').
Following her trail, Mio uses the Flash Lens to dispel the blood seal on the door.
Entering the hallway, Mio aims right to capture a woman heading inward ('Vanishing: Woman Heading to Room').
Stepping forward and peering through the inner room lattice, she captures Mayu crying helplessly ('Vanishing: Crying Mayu').
Examining the door, the lock features a bell pattern, requiring a matching key.
Through the door, Mio reassures her: 'Mayu... I'll get you out right away...'
Suddenly, a shrill voice shouts from behind: 'Give my brother back!'
A red-kimono girl phantom materializes ('Vanishing: Hidden Girl').
'Wait...!' Mio turns in surprise.
Following the girl to the hallway, Mayu's voice drifts from the room, cold and hollow:
'Itsuki... you can't run away this time...'
Checking on Mayu and finding nothing amiss, Mio focuses on finding the key.
In the Sliding Screen Room, she uses 'Reveal' to uncover a hidden chamber.
Inside, she captures the folklorist's phantom ('Vanishing: Man in Sliding Screen Room') and finds 'Folklorist's Note 8' on the bookshelf.
Returning to the hallway where she chased the red-kimono girl, faint bell chimes echo.
Following the sound to a closed floor cupboard, she slides it open to find the girl, Chitose, trembling inside.
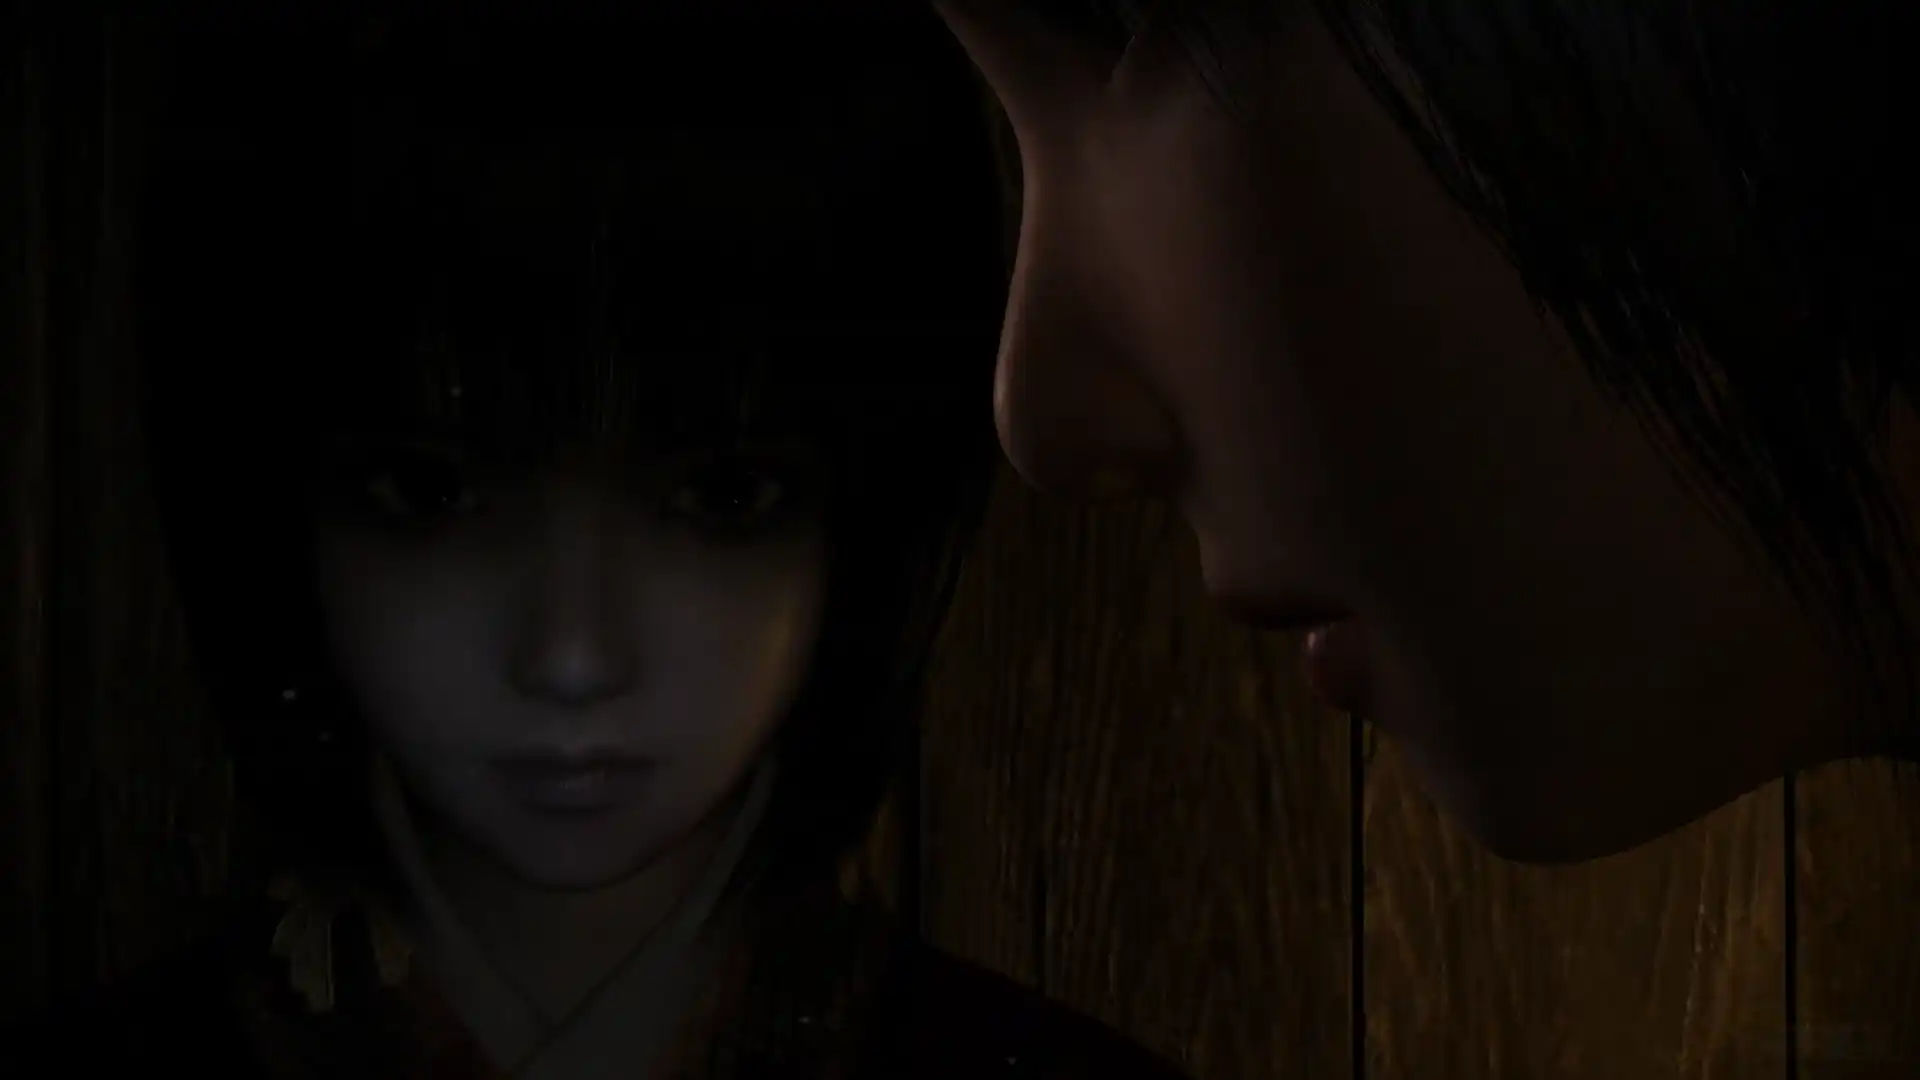 Encounter in the cupboard
Seeing Mio, Chitose shrieks and flees ('Vanishing: Fleeing Girl').
Backing away two steps, Mio captures 'Twin Doll 21' in the dark and picks up 'Red Diary 1'.
Entering the Eastern Row Tatami Room and opening the inner door, Chitose flashes past, and 'Hostile: Red-Kimono Girl' (Chitose Tachibana) attacks with two spirit minions!
In a fierce exchange of spiritual energy, Mio dispatches the minions.
Using the Spirit Glow Lens, Mio tracks Chitose hiding in the Western Row Tatami Room storeroom.
Photographing the storeroom, Chitose flees with a shriek, dropping 'Red Diary 2'.
Returning through the eastern room to the hallway, she captures the fleeing girl ('Vanishing: Running Girl').
Following her downstairs, Mio captures 'Vanishing: Fleeing Girl', then turns left through the doors to capture 'Vanishing: Running Girl' again.
In the Central Tatami Room on the right, she finds 'Green Diary 2'.
The Spirit Glow Lens indicates Chitose is hiding in a wardrobe.
Mio pulls open the doors and fires the shutter. Chitose shrieks and flees into the opposite alcove; Mio pursues and captures her, leaving 'Red Diary 4' behind as Chitose fades.
Returning to the tatami hallway, a red shadow dashes into a room ('Vanishing: Girl Entering Room').
Entering the Deluxe Tatami Room, Mio finds 'Red Diary 3' and the crucial 'Bell Key' on a low table.
Mio grips the key: 'Now... I can open Mayu's room.'
As Mio turns to leave, the door slams shut!
Chitose emerges from the closet with murderous intent for a final showdown!
Mio stays calm, timing her shots perfectly to defeat Chitose once and for all.
Exiting north into the Twins' Room, Mio finds 'Red-Threaded Diary 2' and 'Photo: Twins and Girl', capturing 'Bound: Twin Boy' in the corner.
In the Great Clock Hall south of the hallway, she captures 'Twin Doll 22' in the dark corner.
Crossing the Sliding Screen Hallway and descending to the first-floor Sliding Screen Room, she aims down into the well, photographing ghostly hands reaching out ('Vanishing: Arms from the Underworld').
Returning to the second-floor High-Ceiling Room, Mio unlocks Itsuki's room with the 'Bell Key'. On the desk, she finds 'Red-Threaded Diary 1'.
Reading the diary, Mio looks out the window: 'From there... we can leave this village.'
However, through the broken wooden window, she sees Sae smiling coldly, approaching the room step by step!
Cornered with nowhere to run, Mio grips the Camera Obscura, pressing her back against the wall.
The door flies open with a crash! But rushing in is not Sae—it is Mayu, tears streaming down her face! Mayu leaps forward, wrapping Mio in a desperate embrace.
Burying her face in Mio's chest, Mayu sobs: 'I don't know what's happening to me... but... whatever happens... I will forgive you, Mio...'
Caressing her sister's hair, Mio whispers: 'Mayu...'
Mayu pouts tearfully: 'Don't... leave me behind...'
Mio hugs Mayu tightly, her gaze gentle yet resolute: 'How could I ever leave you? I've been searching for you all along... Let's get out of this village, quickly.'
Wiping her tears, Mayu nods gently: 'Yeah.'