Inside Itsuki's room, Mio automatically obtains the 'Octagonal Diamond Key'.
Clutching the key, Mio murmurs: 'With this key... I can meet him...'
Beside her, Mayu's eyes are hollow, whispering with fixated longing:
'I want to see... Itsuki... I must see him...'
Exiting Itsuki's room and turning right, Mio crosses the Sliding Screen Hallway into the Sliding Screen Room. Descending the stairs to the Tachibana Projector Room, she captures 'Twin Doll 20' in a dark corner.
Returning to the hallway outside Itsuki's room, Mio heads across to the northwest doors of the Western Row Tatami Room, stepping onto the Heavenly Bridge. In the middle of the bridge, she picks up a 'Chrysoberyl'.
Crossing the bridge into the Kiryu House, she heads down to the Projector Room, capturing a trembling girl ('Bound: Girl Remembering Ritual').
At her feet, Mio retrieves 'Purple Diary 4' and a 'Blue Crystal', triggering [Side Event: Akane Kiryu].
Opening the door behind her and turning left down the hallway into the Twins' Room, Mio captures 'Bound: Regretful Girl' and 'Vanishing: Waiting Girl', collecting 'Purple Diary 5' and a 'Light Purple Crystal'.
Exiting the Projector Room into the garden and climbing the stone steps opposite, she zooms in on the Kiryu House rooftop to capture 'Twin Doll 13'.
Rushing to the path behind the Tachibana House, Mio picks up a 'Red-Spotted Crystal' and quickly captures a fleeing spirit ('Vanishing: Girl Fleeing Darkness'), triggering [Side Event: Chitose Tachibana].
Equipping the Spirit Glow Lens, Mio tracks Chitose back into the Tachibana House, fighting off hostile spirits in the Clock Hall. Heading up the stairs into Storeroom East, she uses 'Reveal' to capture 'Bound: Pleading Girl' and picks up 'Red Diary 5'.
Exiting and turning right, she captures a girl leaning out of a closet ('Vanishing: Girl Hiding').
In the storeroom south of the Row Tatami Room, Mio uses 'Reveal' again to capture 'Bound: Girl Hiding from Spirits' and finds 'Red Diary 6'.
Stepping outside and turning right, she captures the girl running inward ('Vanishing: Girl Heading to Brother's Room').
Pursuing her back to Itsuki's room, Chitose attacks as a hostile spirit! After purifying her, Mio uses 'Reveal' on the low table to capture 'Bound: Girl Reading Letter', obtaining 'Red-Threaded Diary 6', 'Red Diary 7', and a 'Red-Spotted Crystal'.
Guiding Mayu down the stairs out of the Tachibana House, they reach the Tsuchihara House via the passage. As Mio opens the storehouse door, a violent psychic shock overwhelms her mind—
Years ago, Sae opened the door filled with hope to find Itsuki, only to discover him hanging from the cold wooden rafters... Sae's heart died in that instant. From outside, the villagers' fanatical voices echoed: 'The ritual is about to begin...'
As the vision fades, Mio investigates the storehouse, capturing the boy's lingering phantom ('Vanishing: Boy Imprisoned in Storehouse').
'Yae... if only I could let you escape... would Mutsuki... forgive me...?'
Behind her, Mayu weeps profusely, trembling: 'I'm sorry... I'm so sorry...'
Mio holds Mayu's hand tightly: 'Mayu...'
Mio climbs to the second floor to find 'Fluorite' and captures 'Twin Doll 40'.
Descending to the inner alcove, she retrieves 'Tachibana Pinwheel', 'Photo: Study', 'Village Map', and 'Red-Threaded Diary 3' from the wooden cabinet.
Entering the Tsuchihara ruins, child phantoms whisper together ('Vanishing: Whispering Girl', 'Whispering Boy', 'Mischievous Boy', 'Mischievous Children'), leaving 'Child's Note 4'.
Mio reads the note: 'The Tsuchihara family pinwheel... they must have hidden it.'
Mio turns and captures the scattering children ('Vanishing: Running Girl', 'Playing Boy', 'Fleeing Boy', 'Fleeing Children').
Leading Mayu deeper into the village, Mio dispels a blood seal on a door with the Flash Lens. Inside, turning right, she captures 'Bound: Hiding Boy'.
Turning left and aiming toward the roof, she captures 'Bound: Boy Hiding in Darkness'. Proceeding past the hydrangeas, she captures 'Bound: Hidden Girl' and obtains the 'Tsuchihara Pinwheel'.
Three hostile child spirits attack! Protecting Mayu, Mio times her shots and purifies them.
Returning through the Tsuchihara House to the Osaka House inner room, Mio captures 'Vanishing: Arm Reaching from Screen' at the courtyard window.
In the second-floor study, Mio uses 'Reveal' on a chest to find the 'Osaka Pinwheel'. Defeating Miyako Sudo in the room and Masumi Makimura in the entrance, she escapes outside.
At the Kiryu House entrance, a guiding red silhouette flits past ('Vanishing: Girl Guiding to Sought Object').
Inside the Altar Room, she captures the searching dollmaker ('Vanishing: Man Seeking Object'), finds 'Dollmaker's Note 6', and captures 'Vanishing: Doll Hiding Pinwheel'.
Following the doll through the High-Ceiling Room and up to the second-floor Sliding Screen Room, Mio captures the doll slipping into a hidden door ('Vanishing: Doll Entering Secret Door').
Inside the secret room, she finds the 'Kiryu Pinwheel' and 'Bloodstained Note'.
Outside, after defeating the mechanist spirit, Mio captures 'Bound: Kiryu Ancestor' at the shrine. All four pinwheels are gathered.
Leaving through the back to Kureha Shrine, Mio captures 'Vanishing: Man Photographing Old Tree' by the steps.
Defeating a priest spirit inside the shrine, she captures Seijiro ('Vanishing: Man Investigating Shrine'), finding 'Folklorist's Note 6' and 'Photo: Old Tree'.
At the massive Old Tree, Mio uses 'Reveal' to uncover a deep hollow. Suddenly, the invincible Kusabi appears behind them! Cornered, Mio pulls Mayu deep into the tree hollow to hide.
Inside, Mayu collapses from exhaustion.
Mio kneels to support her: 'Mayu!'
Mayu gasps faintly: 'Let me... rest a moment...'
Tears well in Mio's eyes: 'Mayu, are you okay...?'
Mayu closes her eyes weakly: 'I'm... sorry...'
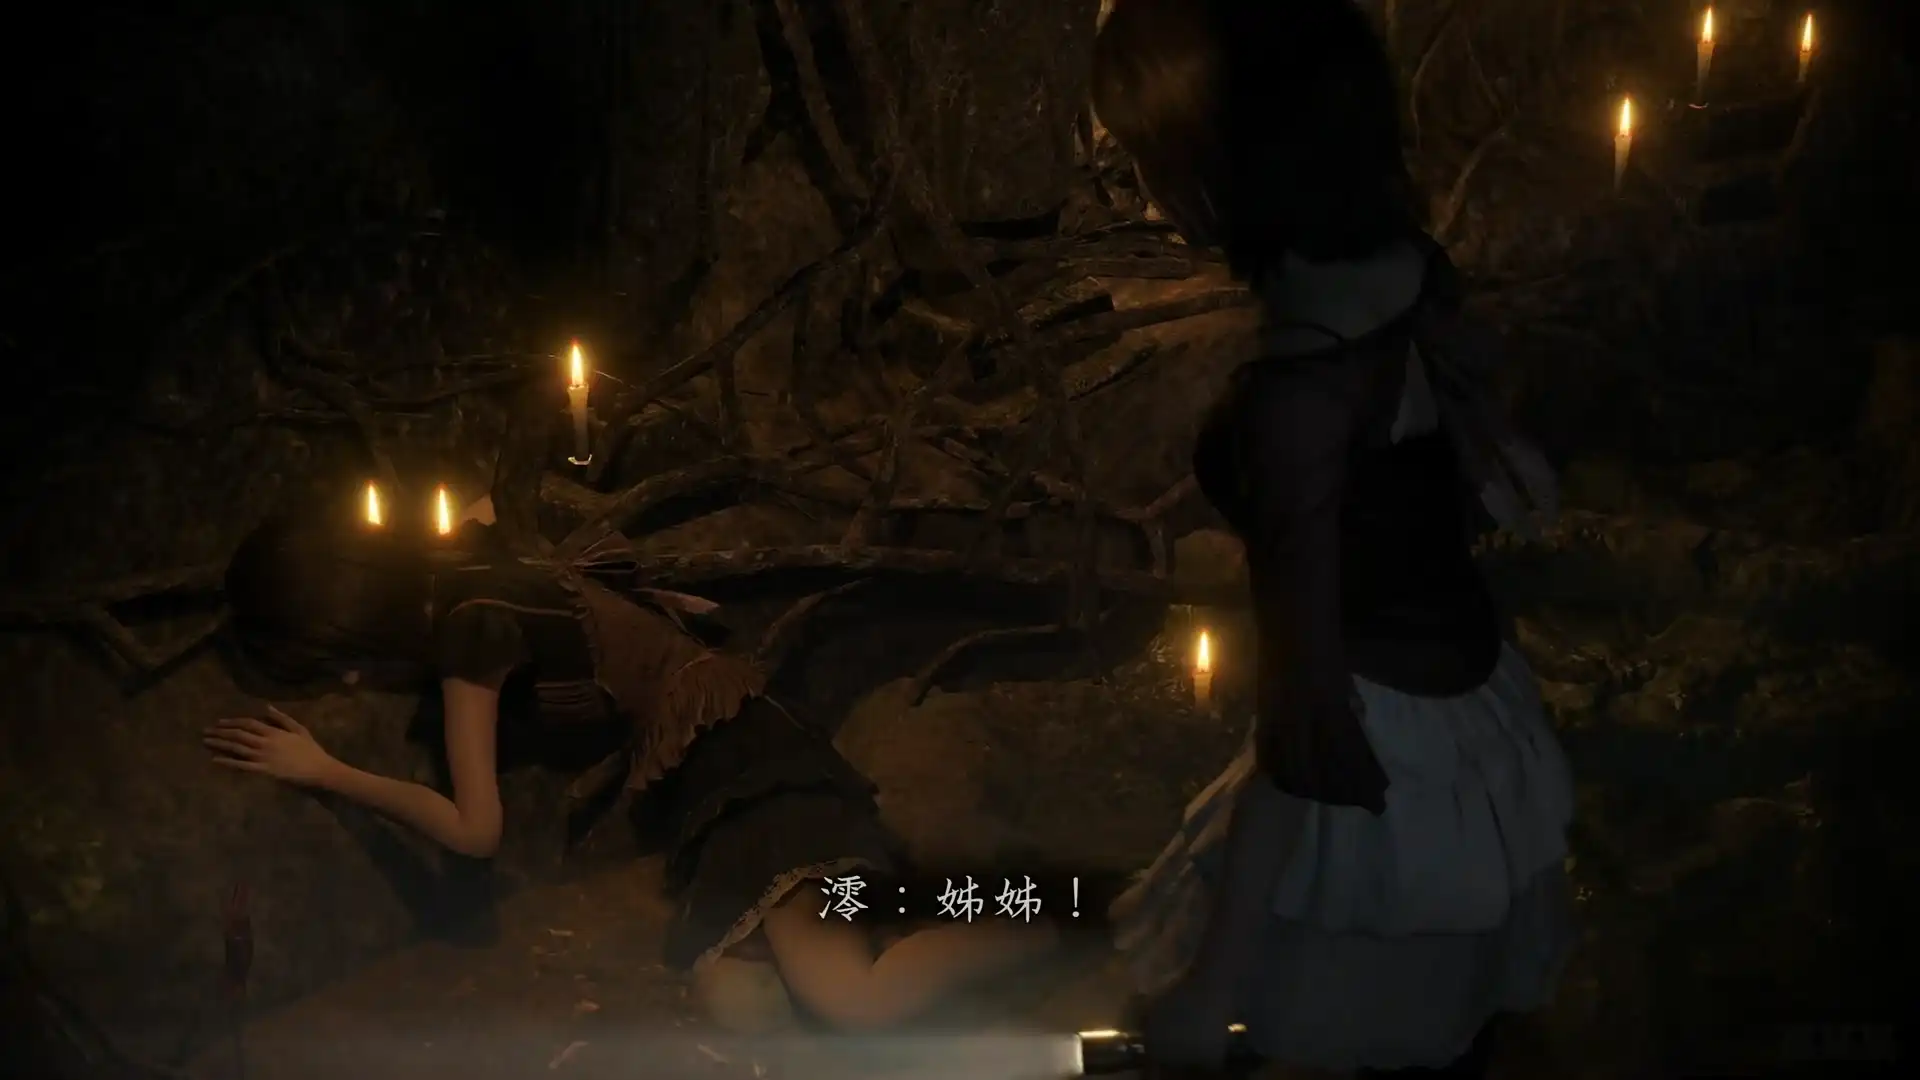 Mayu collapsed in the Old Tree
In the corner, Seijiro investigates a mechanism ('Vanishing: Man Investigating Mechanism'). The altar has slots for four pinwheels, but a central core is missing.
Mio inspects it, obtains 'Ritual Book: Shade Mound', and captures 'Vanishing: Man Investigating Old Tree'.
'The final Kurosawa Pinwheel... must be nearby.'
Mayu mutters in her sleep: 'So beautiful... so beautiful...'
Mio touches her forehead, and a psychic vision strikes—Mio walks through mist to a giant dilapidated Torii gate. Beyond it lies a bottomless abyss, guarded by a silent Mourner.
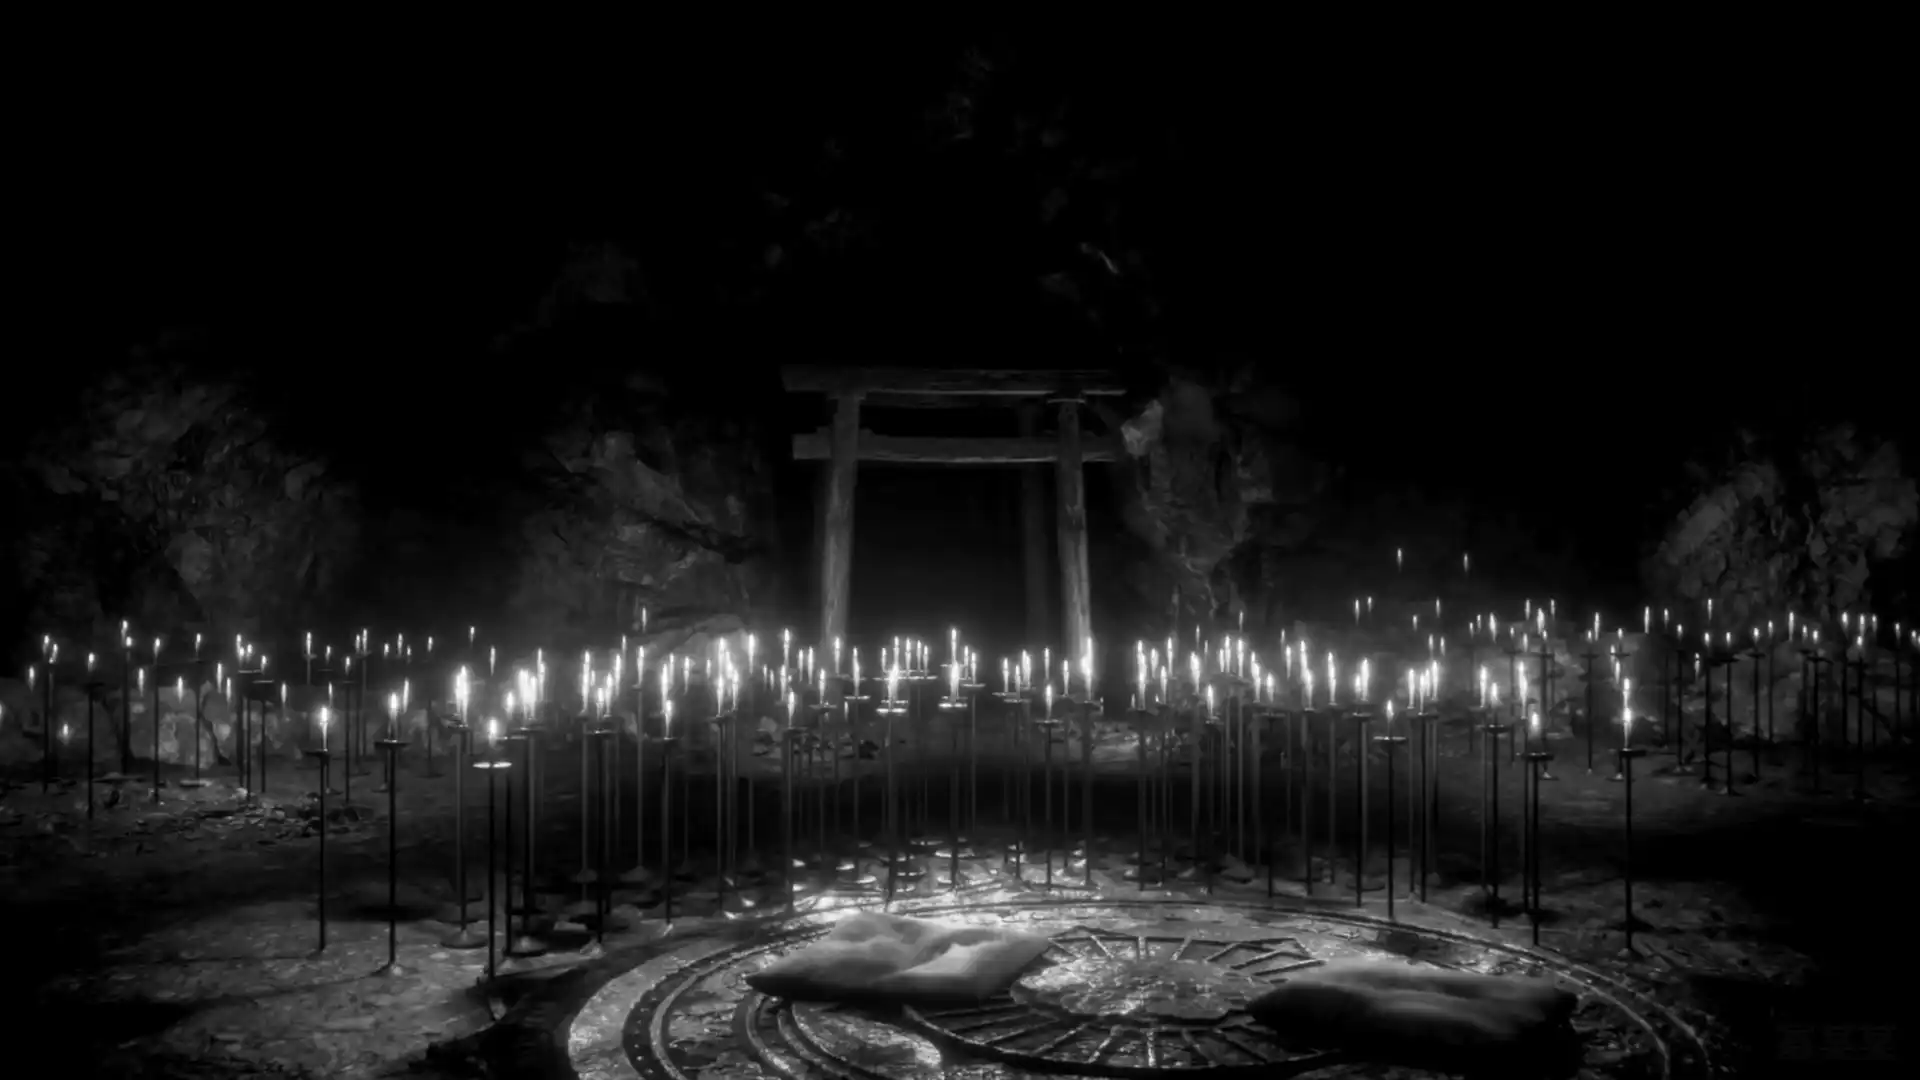 Scene from Mayu's dream
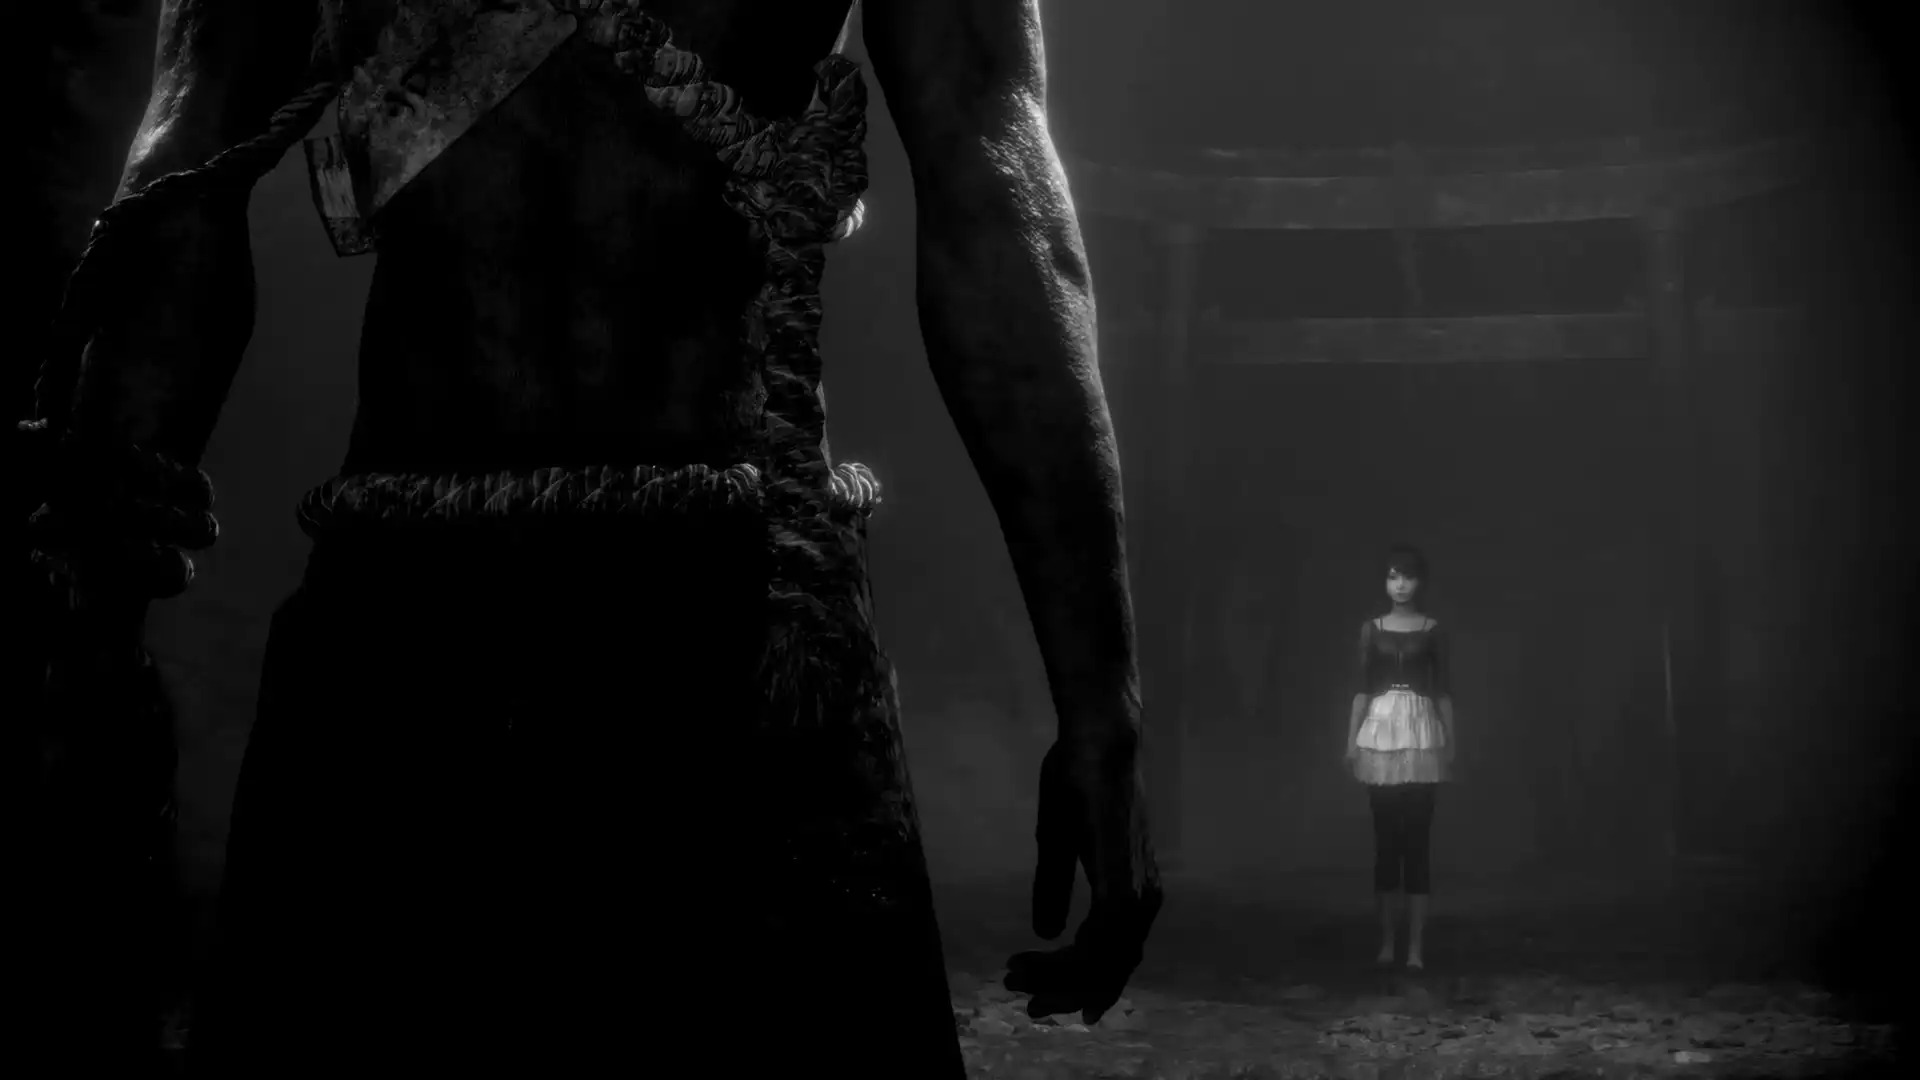 A pit and Mourner inside the Torii
Mio asks: 'Where is my sister?'
The Mourner points into the abyss. As Mio leans over to look, she is snapped back to reality!
Mio captures her sleeping sister ('Vanishing: Fallen Mayu').
Mayu murmurs brokenly:
'Deep in the cemetery... huge... Rope Mound... hidden... blood... there is blood...'
Mio retrieves 'Folklorist's Note 9' where Seijiro stood.
Looking at Mayu, she whispers: 'Wait here for me... just a little while.'
Outside, Mio captures 'Twin Doll 30'. In Mourner House North, she defeats a Mourner and finds 'Twin Doll 36'; in Mourner House South, she captures 'Twin Doll 34'.
Heading west, she captures 'Twin Doll 35'. Crawling through a bamboo thicket, she captures Seijiro trembling ('Vanishing: Fearful Man with Camera Obscura').
At the Rope Mound, Mio uses 'Reveal' to manifest the hidden tomb, obtaining the 'Kurosawa Pinwheel' and 'Memo: Sacred Mirror'.
Reading the memo, Mio realizes: 'If I release the safety lock on the camera... I can banish that evil spirit...!'
As Mio releases the safety mechanism, black-and-white silence falls, and the rope-draped monster Kusabi bursts from the shadows!
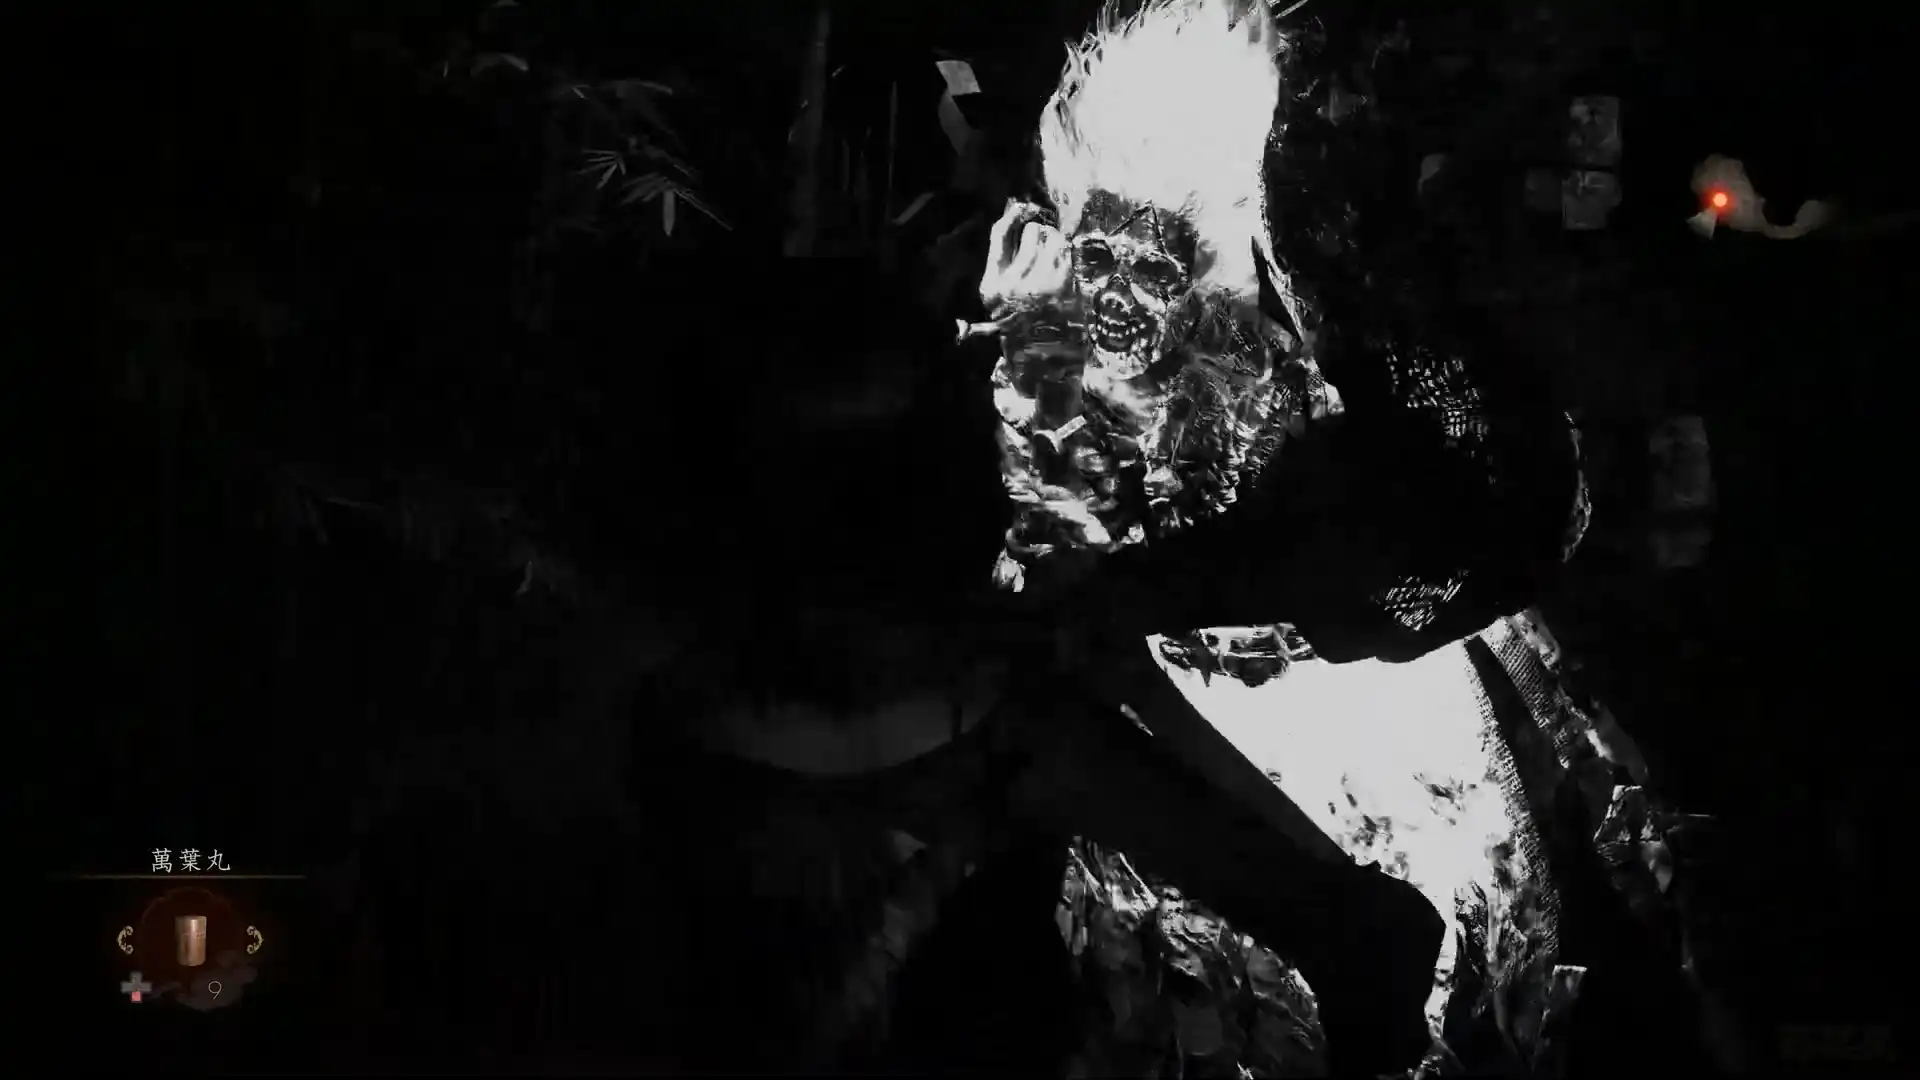 Kusabi strikes suddenly
The impact throws Mio to the ground! Facing death, she aims the camera point-blank at the Kusabi and fires—
A blinding burst of sacred light erupts!
The Kusabi howls in agony, recoils, and vanishes into thin air.
Gasping, Mio stares at her camera: 'Sacred purification light... this is the light that cleanses the underworld...'
Mio races back to the tree hollow and inserts the 'Kurosawa Pinwheel'. The mechanism turns, opening a secret exit behind Kureha Shrine!
'There's wind... the path is open! We can leave together!'
Mio helps Mayu up: 'Mayu!'
Mayu opens her eyes with deep sorrow: 'No matter... what happens... I will forgive you...'
Mio dusts her off: 'Let's go, we can go home soon.'
Supporting Mayu's limping steps, they head toward Kureha Shrine.
'Keep going, Mayu! Just a little further.'
Mayu nods: 'Once we reach the shrine... we can leave the village...'
They reach the shrine platform. But as Mayu looks back down the steps, she freezes in terror—
The path below is packed with hundreds of villagers with torches and poles, alongside masked priests, staring up at them with fanatical, icy eyes...
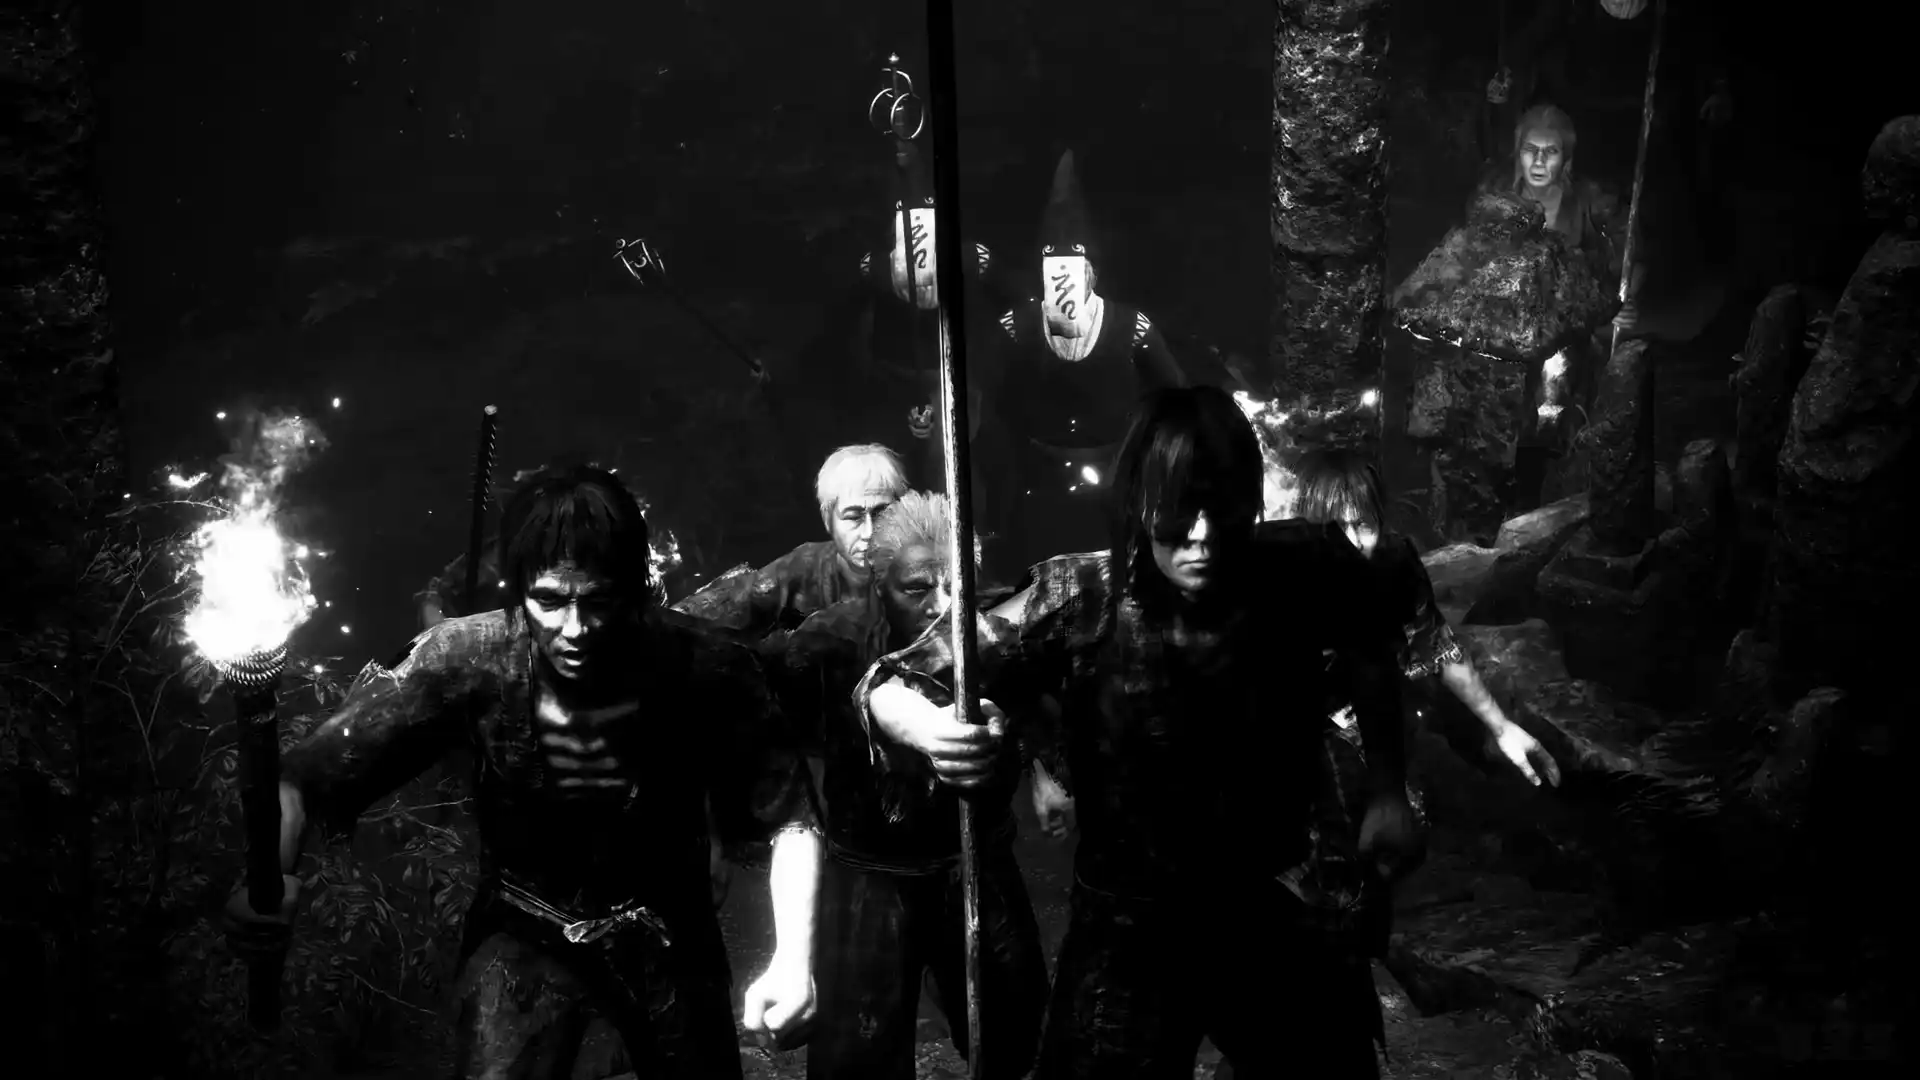 A horde of villagers and priests appears